Change is Coming!

Hello friends,

As some of you know, I’ve been dabbling in blogging for a long time. It was my husband who encouraged me to pursue a food blog due to my love of recipe collecting, food, photography, and writing. While I’m not an expert on any of those topics (except eating, I’m really good at that), I have enjoyed my blogging adventures very much.

However, something always felt a little off. I started the blog with the intent of showcasing my favorite recipes and sharing the stories behind them. Over time, I drifted away from that and in an effort to increase the quantity of posts, I’ve let the quality slide. While I have shared some favorites on here, I’ve always shared a lot of experimental recipes that I’ve never made again. And we won’t even talk about some of the bad photographs.

A couple of years ago, I had the pleasure of seeing a live demonstration by Ree Drummond aka The Pioneer Woman. One of the things that she said regarding her blog was that you should always be yourself and let the rest come naturally.

So who am I? That question lingered on my mind for some time. What type of food did I want to showcase exactly? I try to eat healthy most of them time, but I sure don’t ever want to lose my mom’s pie recipes. The food I grew up with definitely had southern influence but I hate grits. And Kentucky really isn’t the south (sorry peeps, it just isn’t!) After much soul searching, the answer finally hit me. It was time to get back to my roots. And my roots are firmly in the mountains of Appalachia.

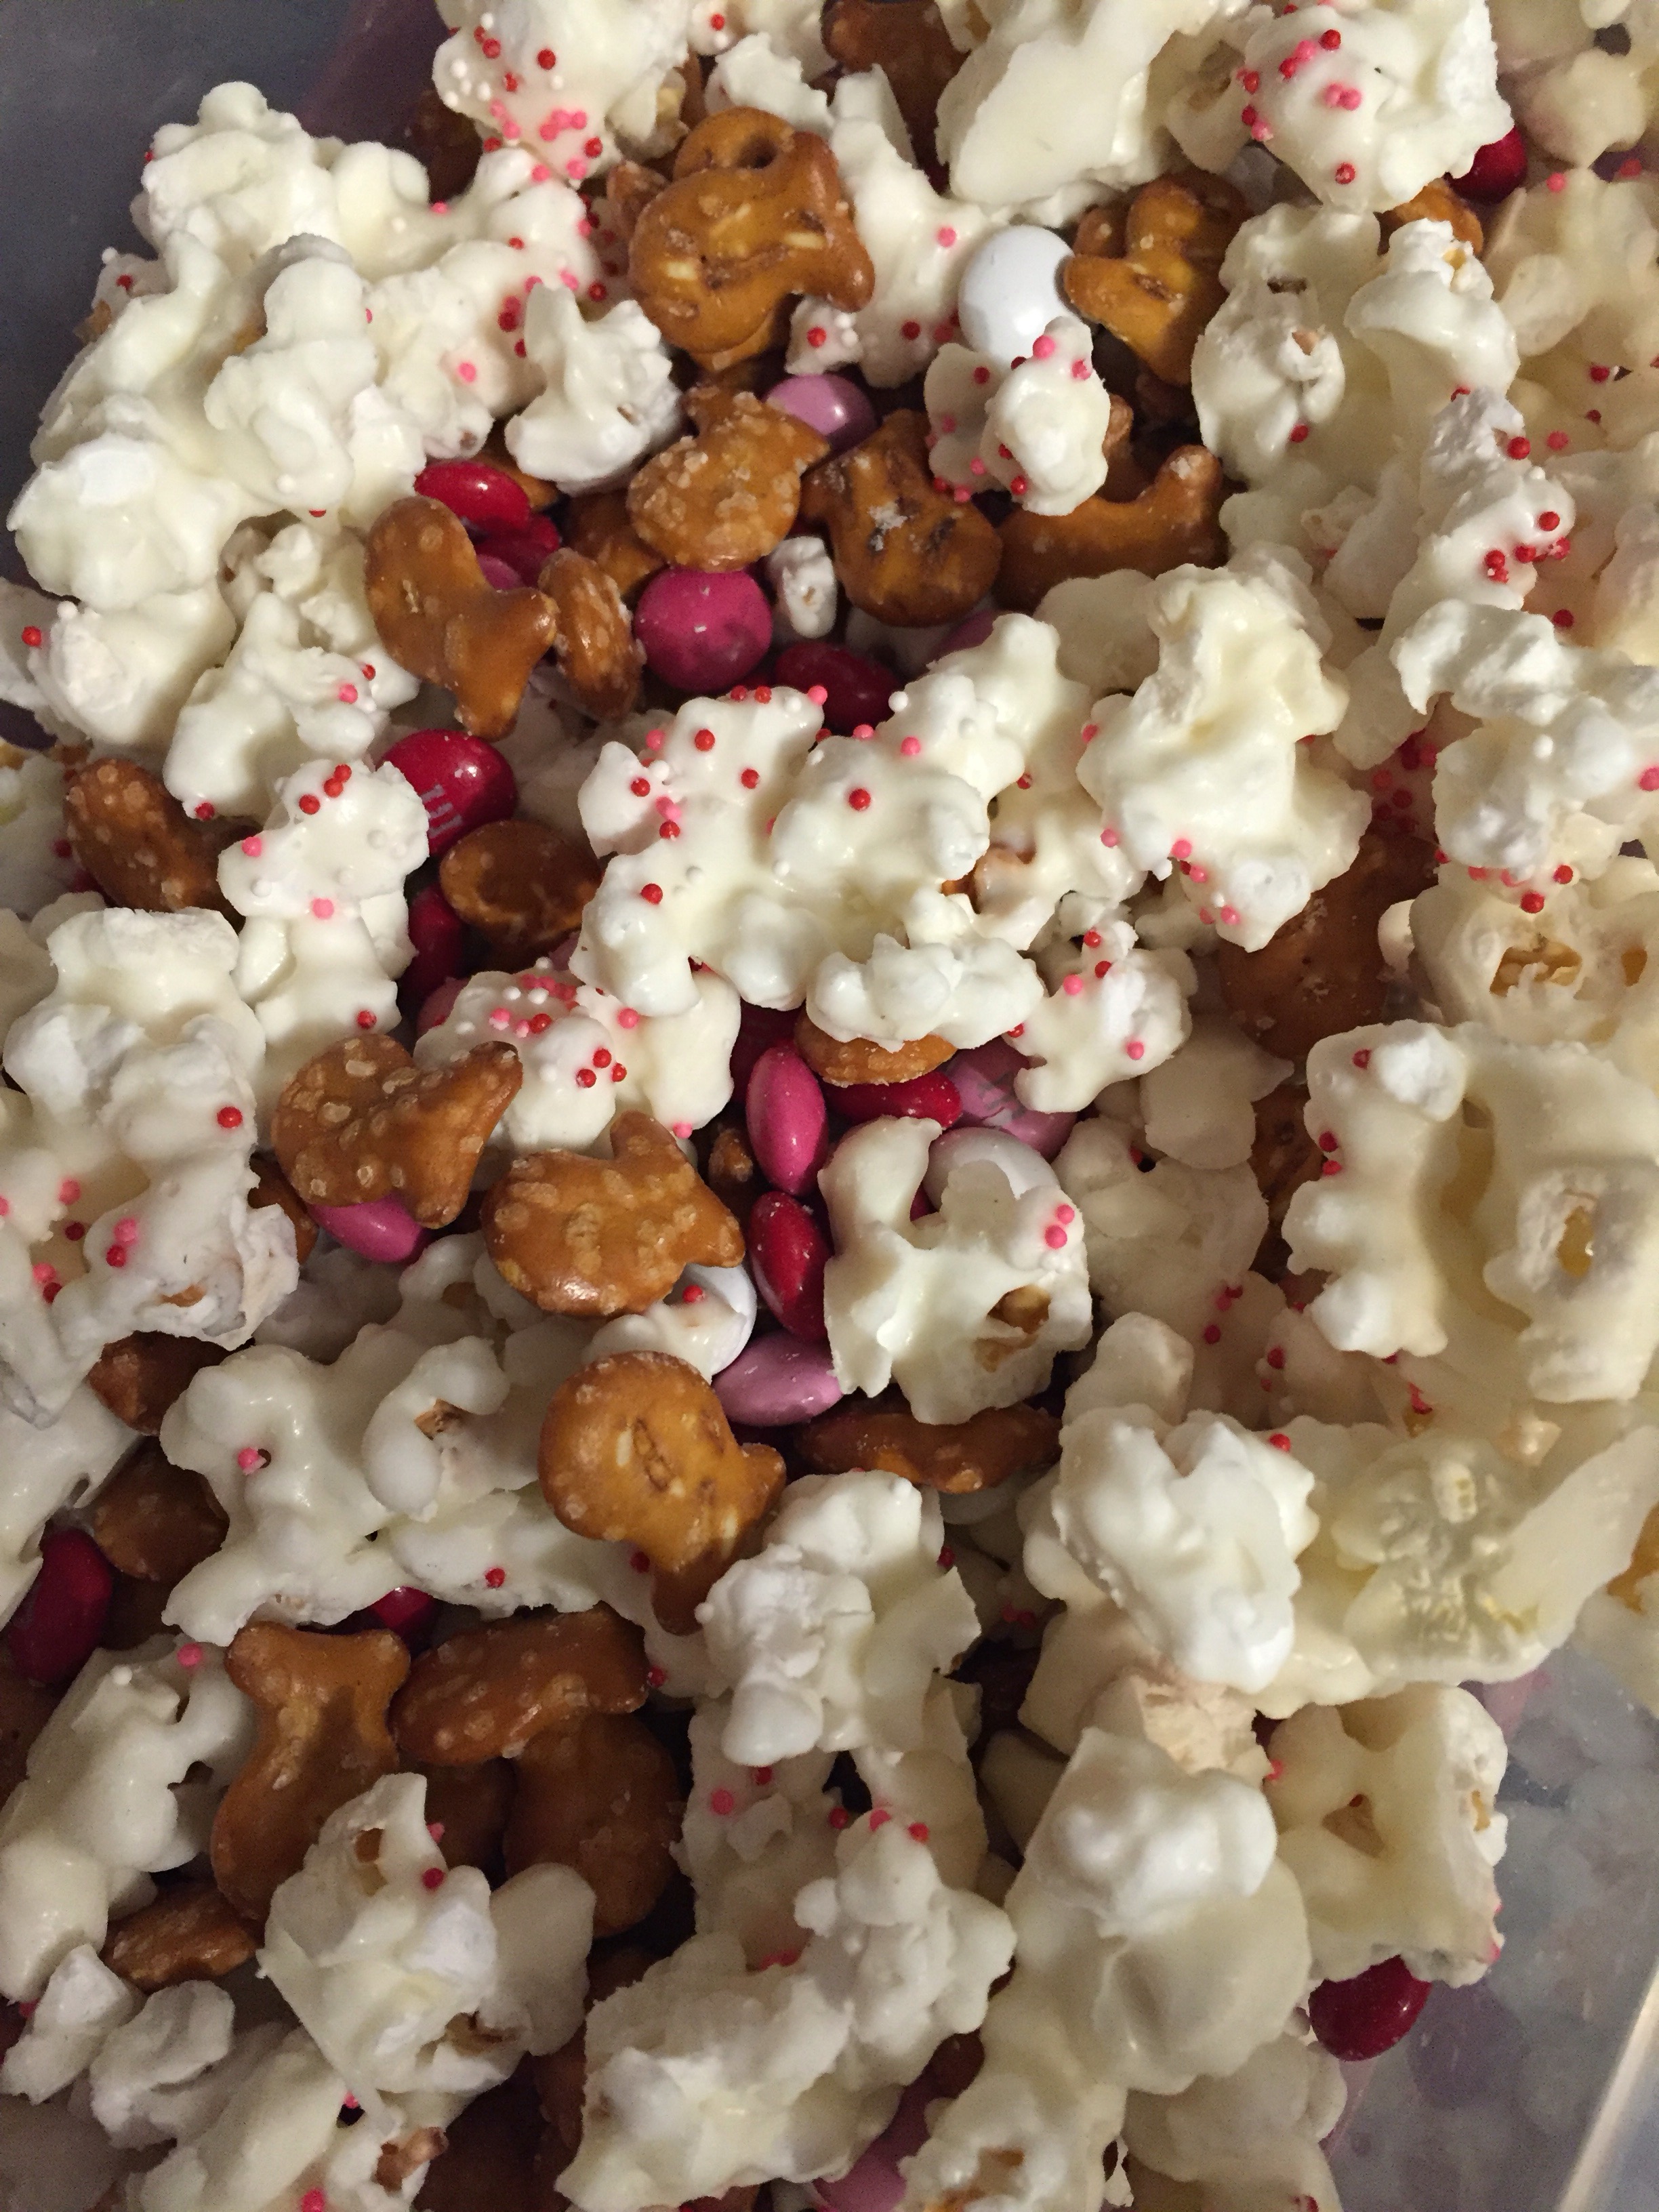
So what does that mean? It means soup beans and corn bread. It means pie with homemade fillings. It means recipes from church cook books or swapped from co-workers. It means fresh garden vegetables. Canning and pickling. Recipes off the back of the cereal box. That’s who I am.

In that extra ten minutes I have each night after my toddler goes to bed (I’m exaggerating, sometimes it’s more like 3 minutes), I’ve been researching both Appalachian food and blog development. The upcoming product will launch soon at www.mindascooking.com. This blog will stay active for a while and some of the recipes will migrate over to the new site, some with new photographs. I’ll likely still drift off the food topic occasionally to talk about books or Christmas planning or flower beds or who knows what.

I’m still amazed at times at the visits that this blog receives and I appreciate everyone who has given it a click over the years. As of the writing of this post, I’ve had 26,000 visitors. That is amazing to me. You’ve given me the courage to take a leap forward into more serious blogging, and I appreciate you. I’m excited for what the future holds. Stay tuned!

Pea Salad

Pea Salad is one of those great side salads that you often see on salad bars in these parts. I’ve always been a fan but then I’m also a fan of peas. And salad. So pea salad is just right up my alley.

I’ve heard people say that they don’t like peas because they are “mushy”. Well, just as Sheriff Andy Taylor said that little old ladies ought to never clank, peas should never be mushy. Sadly, many folks’ pea experience is with canned peas which are on the mushy side. Frozen peas deliver a much crisper, fresher taste that is just almost-but not quite-as tasty as a fresh garden peas. And much easier to come by, too.

Peas are an early spring vegetable. Growing up, I looked forward to the spring crop of peas. Back then, my dad didn’t have his trusty tractor so we were dependent on our farming neighbors to plow our garden each year. Some years, they’d come by early enough for a pea crop, other years they didn’t. Even as a small kid, I LOVED garden peas and was amazed at how much better they were than peas from a can. And though I now live in a town with multiple farmers markets, it’s still difficult to find fresh peas.

A few summers ago, I spotted an elderly couple selling peas out of the back of their truck at my local CVS. I bought from them a couple of times that year then cruised the lot the next year looking for them, and lo behold, eventually they showed up.  That’s right you all, I HAD A PEA DEALER! Sadly, I haven’t seen them in a couple of years.

So, this recipe…it’s based loosely on the Pioneer Woman‘s and my mom’s which are basically the same. I subbed Greek yogurt for the sour cream and left out the parsley that Ree (I call her Ree) used, and omitted the bell pepper that Loretta uses (I call her Mom). I made this for my Easter lunch.  I prepared it on Saturday so that it could set overnight and all the flavors could mix together. It’s delicious, and a great way to eat your veggies.

IMG_3103


Pea Salad

1/3 cup Greek Yogurt
1 Tablespoon Mayonnaise
Salt And Pepper
1 Tablespoon White Vinegar
4 cups Frozen Green Peas, partially thawed*
8 slices Bacon, fried crispy and chopped
1/2 whole Small Red Onion, diced small
6 oz Cheddar, American, or Colby cheese, diced into small cubes

*I put peas in a colander and let them thaw at room temperature for about a half hour. You want them to not be ice balls but not totally thawed either. This will keep you from heading into the dreaded “mushy” zone.

Mix the Greek yogurt, mayonnaise, salt, pepper, and vinegar together to make the dressing. Add more salt and pepper to taste, if needed. For a true Southern taste, add in a dash of sugar.

Stir dressing into the peas until the peas are well coated. Stir in the bacon, onion, and cheese until all combined. Cover and refrigerate at least 2 to 4 hours before serving.

IMG_3102


Side Dish: Saving (and Making) A Little Cash

Someone said to me recently that I always seem to be able to find a deal. That’s not always true but I do try my best to save a little cash where I can, and I do have a few tricks up my sleeve that are my tried and true favorites. Today, I’m sharing those with you. All three of these products are ones that I use and have used for quite a while. I’m including referral links for each one which means if you sign up using my link, I’ll get a bonus of some sort which is explained in each description. I’m not writing this post to try to drum up bonuses; in fact, anyone who knows me has probably heard me promote these products just as a shopping tip. Because I love to tell people what to do 🙂

One of my favorites is the rebate app/site Ibotta. My sister in law introduced me to Ibotta a couple of years ago, and to be honest, I didn’t really see the excitement. I’m not sure if I just wasn’t giving it a chance or if they’ve just improved in time but now I’m an Ibotta junkie!

Here’s how it works: You download the app, create an account, then scan the app for rebates on products that you want to buy. Select those rebates (sometimes you’re asked to view a very short video about the product, answer a survey question or read a recipe). When you grocery shop and buy those products, you then go back into your app, scan those products, take a photo of your receipt, and cha-ching in 24 to 48 hours, your rebate shows up in your account. (If you shop at Wal-Mart it’s even more simple: you just go back into your Wal-Mart listing in Ibotta and scan the QR code on your Wal-Mart receipt. You don’t have to try scan products or the whole receipt) You can then cash in your rebates for gift cards or send the money to your Paypal. My lifetime earnings is just under $100 so it’s legit. I typically use my earnings to buy Starbucks* cards. The rebates vary by grocery store.

They also offer team challenges (you build a team by inviting friends or signing up via your Facebook account which teams you with with any FB friends who use Ibotta), bonuses if you meet a certain number of rebates in a month, and bonuses based on products (for example, cash in all of the current Kasha rebates and receive a bonus). They also offer “generic” rebates such as “50 cents off any white milk” so it’s something anyone can use! They also frequently offer rebates on produce. It’s also not limited to groceries; they also have electronics, fashion, etc. I picked up two great rebates around Christmas from in-store purchases at JC Penney and Best Buy. If you’d like to try it, here’s my referral link. You’ll get a $10 bonus when you cash in your first rebate and I’ll get $5.

If you are an online shopper, you need to get to know Mr. Rebates. I’ve been a Mr. Rebates user for years. It’s a click-through site where you basically click through his site to your choice of zillions of online stores. You get a percentage rebate on your purchase which accumulates into your account until you cash out via Paypal or by a check in the mail. Some drawbacks: Your rebate is not as fast as Ibotta. The moment your order ships, your rebate goes into your account as pending but it’s about 90 days or so before it’s available. This is to prevent people from placing an order, getting the rebate,  than returning the order. (What a terrible way to treat Mr. Rebates!) This doesn’t bother me since it’s just play money essentially to me but if you are counting on the rebate as a discount then you need to be prepared to wait. Another downer is that not all of Amazon’s departments are part of the program, just a few which are the few I tend to not order from. To me these are very minor quibbles and I’ve done quite while over the years with Mr. Rebates. You can invite friends to join through the referral program and if they do, you will then earn 20% of their rebates. Don’t worry, the information on where they shop, what they bought or even the dollar amount isn’t revealed. You just receive a deposit in your Mr. Rebates account. If you’d like to try it out, here’s my referral link.

The last one that I’m going to share is the one that I’ve had the least success due to my own lack of effort. I’m sharing it because it does have potential for some fun earnings and I’m already doing much better with it than I did last year. It’s called Swagbucks and while it’s super easy to use, it also has the most ways to earn points called Swaybacks or SBs for short. So bear with me.

Once you sign up with Swagbucks, it’s a good idea to just visit the site and get acquainted with all of the ways you can earn SBs. Accumulated SBs can be redeemed for gift cards. My earnings have been slow because I just haven’t put the time into it although I’v been striving to do better. Last year, I cashed in maybe $15 in Amazon cards. However, I know a person who banks about $250 per month (yes a real person not an “internet” person.) And I have read comments on social media from people who do really well and even use Swagbucks as a way to pay for their college textbooks. So, it’s all in how you use it.

Basically, you can earn SBs by

  • Performing searches using their search bar or on the app
  • Watching videos on the site or on the app
  • Cashing in special SwagCodes that are issues throughout the day
  • Doing surveys
  • Printing grocery coupons (SBs awarded 12 weeks after coupon is cashed)
  • Click-thru shopping rebates similar to Mr. Rebates

I primarily earn by doing the Daily Poll, playing videos on my phone (you don’t have to watch them), cashing in the SwagCodes (make sure you have the app on your phone and allow push notifications), printing coupons (this is a new one for me) and trying an occasional survey. If you think this sounds fun, my suggestion is try out and see what you can do. The person I mention above who does so well says that she waits until her daughter is in bed then plays videos or does surveys while she watches tv. I joined through her referral link so she gets a 10 percent bonus of the SBs I earn. Here’s my referral link if you’d like to try it.

In addition to these, I also love Meijer’s mPerks, the Kroger Plus Card, and although I don’t shop there often, I have to admit the Wal-Mart Savings Catcher is pretty awesome.

I hope you find something useful here that can help you save a little money-and have fun doing so! I’ve tried to explain each one clearly as possible. If you have questions, ask away!

*I load all of my Starbucks cards onto one Starbucks card that I’ve had for years and is registered with Starbucks rewards. This helps me earn free drinks and other rewards!


Turkey Sausage Skillet 

I love easy, one skillet meals. I mean, who doesn’t?  I adapted this recipe from one that I found in a magazine ad for Hillshire Farm Smoked Sausage. I substituted Butterball Everyday Smoked Dinner Sausage to lighten it up and also reduced the amount of oil and cheese in the original recipe. I also used brown rice to up the fiber content a bit.

This is a quick dinner perfect for a busy week night. To further reduce the time, you could chop your veggies the night before so that they are ready to toss in the pan.

I used PF Chang’s frozen brown rice because that’s what I had on hand. You can use any instant rice or cooked rice but the key is that the rice needs to be cooked. There is not enough liquid or time involved in this dish to use uncooked.

I hope you enjoy as much as I did!

Easy Turkey Sausage Skillet

1 pkg. Butterball Everyday Smoked Dinner Sausage, sliced thin

2 cloves of garlic, crushed

1 tablespoon of olive oil

1 large red bell pepper, sliced thin

1 small yellow onion, sliced thin

1 pkg. frozen broccoli (mine was 12 oz)

½ cup water or chicken broth

½ cup tomato sauce

2 cups COOKED rice

¼ cup finely shredded cheddar or cheese of choice


Heat oil and garlic in skillet. Add in sausage and cook until browned, stirring occasionally so that it browns evenly. Then add veggies, water, and sauce and simmer for 10 minutes until veggies are tender and liquid is mostly absorbed. Stir in your prepared rice and sprinkle on top with cheese.

Makes 4 to 6 servings.

Notes: I added in a sprinkle of Cajun seasoning as well. You can also skip the cheese completely if you would like.

Sweet Potato Black Bean Chili with Fresh Guacamole

This is a guest post from my friend Candace. She really should have her own blog as her love of food and puns is both intense and entertaining.

 Every now and then, Minda– my friend and our wonderful host – hounds me to do a guest post for her blog. By hounds me, of course, I mean that she invites me to do a guest post, I enthusiastically agree, then she wonders what the *bleep* happened to that post I said I’d write. She’ll remind me at least once a year, to no avail.

Clearly, she’s the best, and a far more reliable, talented, and entertaining blogger than I’ll ever be. Minda’s Note: Blush You know this; it’s why you’re here, after all. Still, if I don’t pony up with a post soon, she’s going to stop asking – or worse, stop inviting me on the bi-weekly, day-saving coffee run. The horror!!

Several weeks ago, Minda posted a recipe featuring bulgur, which she made during our Cooking Club. While she was experimenting with exotic –albeit earthy-sounding– grains, I was cooking up an inspired new chili combo – sweet potato and black bean. I love sweet potato; I love chili; and I really, really love black beans. I particularly love it when chili doesn’t require meat ingredients. I had found my match made in culinary heaven.

I have now made Sweet Potato and Black Bean Chili twice, and I will definitely be cooking it again soon. I changed the original recipe slightly by adding some dark chocolate, something I’ve always wanted to do because, well: It. Just. Seems. So. Haute. And it gave the flavor even more depth and brought out the sweetness of the potatoes and generally perfectly complemented the seasoning.

image004

I wish my instincts always worked out so well.

A hearty thank you to our University’s wellness program leadership for introducing me to this hearty dish.

Sweet Potato and Black Bean Chili

Ingredients
1 medium yellow or white onion, diced
3 medium sweet potatoes, peeled and chopped
1 16-ounce jar chunky salsa
1 15-ounce can black beans, slightly drained
2 cups vegetable stock
2 cups water
1 TBSP chili powder
2 tsp grated dark chocolate
2 tsp ground cumin
½ tsp ground cinnamon
½ tsp chipotle powder
1 TBSP cooking oil
Salt & Pepper to taste

Directions
In a large pot over medium heat, sweat onions in oil. Season with salt and pepper. Stir and continue cooking until translucent.
Add sweet potatoes, chocolate, and spices; cook for three minutes.
Pour in salsa, water, and vegetable stock.
Bring mixture to a low boil over medium-high heat; reduce heat to medium-low and simmer. Add black beans.
Cover and cook 20-30 minutes, until sweet potatoes are fork tender and soup has thickened.*

Top with guacamole (optional). BONUS RECIPE below.

*Note: I haven’t been very successful yet getting my soup to thicken, which has prompted me to consider a thickening agent. I will report back after my next attempt. Minda’s Note: Try mashing some of the beans with a fork before adding them to the chili. The released starch will thicken it a bit. You could also give it a quick hit with an immersion blender. 

BONUS RECIPE

When I was a kid, I hated guacamole. In fact, I hated anything to do with that weird, wrinkly blackish-green fruit thing, the avocado. But I was wrong, as kids sometimes are.

Now I know the bliss that is a cool, creamy avocado served with, let’s see, almost anything. Guacamole is just about the easiest thing to make, and I like mine so much that I’ll never buy the pre-made stuff again. I don’t like to brag, but I’ve kind of made a name for myself.

My tombstone will read:
Beloved wife and step-mother.
Epic maker of guacamole.

So I’m confident that if you love guac, you’ll love this recipe. Best of all, it’s super simple, proving once again that basic recipes are the best. But first, a couple of notes about this recipe. I choose avocados that give slightly when you press on the (still weird and wrinkly and blackish green) skin. After you cut your avocados in half and remove the pit, a large spoon is great for shelling the fruit right out of the peel. Likewise, I use a small spoon for seeding my pepper.

About those peppers. After handling a serrano pepper, make sure you wash your hands well. With soap. Twice. And don’t, like, touch your face for the rest of the night. ESPECIALLY NOT YOUR EYES. Seriously.

Or, I suppose you can use a milder pepper, if you prefer.

Guacamole (Avocado’s Favorite Recipe)
2 ripe avocados, cubed
½ onion, diced
1 serrano pepper, seeded and minced
2-3 Campari tomatoes, seeded and diced
1 lime
½ TBSP dried cilantro, or 1 TBSP chopped fresh cilantro
Salt & Pepper, to taste

Combine avocado, diced onion, minced pepper, cilantro, and tomato. Squeeze juice from one lime over guacamole and season with salt and pepper. Using a large fork, mash until you’ve reached desired texture. For even creamier guac, you can throw in a tablespoon of sour cream.

Minda, I hope I’ve done your blog justice. You set the bar pretty high. Notice, I refrained from using even a single pun more than three puns. So, if you’ll have me back, consider this a commitment to guest blog the Grinch cookie recipe this Christmas. You know, the one you’ve been asking me to do for two years?

Minda’s Note: Well done! 

Be My Valentine Snack Mix

Since my son began a traditional daycare in August (versus an in-home daycare), I’ve been quickly introduced to the world of daycare parties. Daycare parties require treats and not just any treat; the foods must be appealing to the very young and often toothless crowd. Add in the pressure of living in a Pinterest world and it can be quite stressful.

For Valentine’s Day, I was pretty set on cupcakes since I already had Valentine cupcake liners left over from years past. However, I was late to signing up and cupcakes were already spoken for. After searching the web, I settled on a Valentine Snack Mix. There were lots of options and out there and I ultimately chose one that used popcorn as the base because my son LOVES popcorn (as do I). I omitted the nuts because so many kids have nut allergies these days.

Coating popcorn with candy coating is not something I’d ever considered doing. But it turned out really good. Another mom made a similar mix with plain puffcorn rather than popcorn. If you’re not acquainted, puffcorn is not corn at all, it’s basically a puffy Cheeto shaped like popcorn. The plain variety is basically a Cheeto with no cheese. I sampled my son’s treat bag of it and found it tasty.

I also used Goldfish pretzels instead of regular pretzels because, well, toddlers…Goldfish…you know.

  Valentine Snack Mix

5 to 6 cups of plain popcorn (I used Orville Redenbacher’s Naturals as it seemed it would be the plainest)

1 tray of white candy coating (such as Candiquick) or almond bark

Valentine Nonpareils (fancy word for sprinkles, who knew?)

1 package of Pretzel Goldfish

1 bag of Valentine M&M Candies


Prepare popcorn according to package directions. I found that one bag yielded the 5 to 6 cups that I needed. I poured my popcorn out into a glass measuring bowl to measure it then placed it one handful at a time into a larger bowl. I did this so I could be sure to pick out any unpopped kernels that might irritate little teeth.

Next, melt candy coating/bark as directed on package. Once it’s melted, pour over popcorn and mix very gently. Too aggressive with the spoon and the popcorn will break! Spread the coated popcorn on a sheet of wax paper and sprinkle with the nonpareils. In hindsight, I would also add some M&M candies at this stage because they sort of fell to the bottom of the mix.

  Let the candy coating cool and set which takes about 15 minutes. Break apart the popcorn and mix in your candy and pretzel Goldfish. Store in airtight container. Can be divided out into gift bags for maximum cuteness.

Thanks Home is Where the Boat Is for the Pin-spiration!

Product links above are affiliate links. 

Mardi Gras Recipe Round Up!

  Our office tries to do fun potluck meals on occasion. One idea that we came up with last year was to try a combined Fat Tuesday/Valentine potluck. We originally called it Beads and Beaux but decided to change it to Beads and Bows after a couple confused looks. We’d been collecting recipes on Pinterest for a year so we were definitely prepared. I’ve decided to do a round up of the recipe links rather than a recipe post. For one thing, I want to be able to capture several of the recipes at one time, and second, my dish (Cajun Shrimp Dip) wasn’t very photogenic.

In choosing recipes, we joked that to make something Cajun just add Cajun seasoning and to make something Valentine themed, add red food color or cut it in a heart shape.

Here’s what we came up with:

I made Cajun Shrimp Dip. To me, it was just ok. The recipe calls for a pound of salad shrimp and the biggest bag I could find was 11 ounces. And honestly, I felt that was too much shrimp. If I were to make this again, I’d probably use an even smaller bag and cut the shrimp flavor down a bit. Or maybe use shredded or canned chicken.

Candace made Red Beans and Rice Salad. She would be the first to tell you that she overcooked her rice. Slow cookers can be fickle. Nonetheless, I thought this was a really tasty dish. I had an extra container on hand so I boxed up a portion for the next day’s lunch and I think it was even better because everything a chance to blend together.

Shelia brought in Valentine Blondies. She cut hers in a heart shape. They were very yummy and my 2 year old very much enjoyed the one I brought home to him. He loves chocolate chip cookies and these were like a thick cookie. Yum!

Rita made Maque Choux which was a new experience for all of us.  She made two versions: one with sausage and one without for the vegetarians. I liked it a lot and I think it would be really good in summer when there’s fresh corn available.

And last but not least, Sherry provided Southern Pecan Praline Cake. As one taster said, “Lord have mercy!”. I think that sums it up pretty well.

It was a good meal and gave us a chance to step out of our culinary comfort zones and try some new recipes.


Bulgur Wheat With Veggies

Exotic grains are all the rage in many cookbooks and magazines these days. The most mainstream of these new trendy grains is quinoa which seems to pop up everywhere. I remember a couple of years ago trying to find amaranth because my husband had read about it in Men’s Health. I ended up having to buy some at a Whole Foods several miles from where we live. Now, you can find it in some of the organic baby food pouches.

Honestly, I haven’t cared for most of these trendy grains. The very thought of grains conjures up thoughts of lumpy, gray porridge that takes forever to cook. So, I haven’t branched out much in the grains area.

Last week thought, my friend Candace and I participated in another Cooking Club as part of our university’s wellness program. (You may recall our previous adventure making a tofu stir fry, if not you can read about it here.) Each cooking team received a recipe to try along with a grain to prepare. Our grain was bulgur.

Bulgur was definitely not something that I was rushing out to try. It doesn’t even sound good. Say it….bul-gur. Doesn’t inspire a lot of interest, does it?

However, I soon found I had misjudged this grain. It cooked quickly, and the end result reminded me a lot of a fried rice dish. In fact, I can see me sautéing some onion, tossing in some peas and carrots with a splash of soy sauce and broth, and making sort of a Mock Fried Rice. Reading up on bulgur later, I found that it’s high in protein and fiber with a higher nutritional content than rice. So, it’s definitely worth subbing in for rice when you can. I’ve already pinned a couple of bulgur recipes, and look forward to trying more of this healthy grain.

 Bulgur with Veggies

1 onion (medium, chopped)
1 cup broccoli (chopped)
1 cup carrot (shredded)
1/3 cup fresh parsley (chopped, or 2 Tablespoons dried)
1 teaspoon coconut or canola oil
1 1/2 cups bulgur (dry)
2 cups broth (vegetable or chicken)
8 ounces chickpeas (canned, drained)

Directions

Wash and chop fresh onion, broccoli, carrots, and parsley (if using fresh parsley).
Heat oil in a large skillet. Add onions and cook until soft.
Add bulgur and stir to coat. Add 2 cups chicken broth to the skillet, bring to a boil.
Lower the heat, add remaining vegetables and chickpeas. Cook for 10 minutes or until the liquid is absorbed.
Add parsley and stir. Serve warm or cold.

Product links above are affiliate links. 

“I Want To Marry You” Cookies

The holidays are over and many of us are trying to move past all of the cookies, cakes,  and candy we ate. But I can’t move forward without paying my respects to a new cookie recipe that I found. And loved.

Our office hosts a cookie exchange each year. In the weeks (ok, months. Ok, we’re already planning this year’s) leading up to it, we talk a lot about cookies. We look for cookies online. We remember fondly cookies of past Christmas seasons.

I had a short list of cookies/treats that I was considering for this year’s exchange. Then I scrapped the whole list when I found this recipe on The Cooking Channel’s website. There were several reasons that it appealed to me. 1) It looked easy. 2) It looked tasty and 3) I had almost everything on hand to make it.

I really wanted to change the name though. I even posed the question to my Fb friends. Suggestions included “Double Chocolate Oatmeal Delights”, “Catch ‘Em and Keep ‘Em Cookies” “I’m Already Taken Cookies”, and “Happily Ever  After Cookies”. Since I’m already married, I considered “So Good He Put a Ring On It Cookies”. I also kept thinking of that old episode of Designing Women where the girls sing “Wedding Bell Blues” so I kind of wanted to call these “Come On and Marry Me Bill Cookies”. But my husband isn’t Bill and we do work in the same building, so I didn’t want to start any rumors.

So, I didn’t rename the cookies. Pardon me for just putting you through a pointless story.

The cookies are a cross between a chocolate chip cookie and an oatmeal cookie. I really enjoyed them, and they were all claimed at the cookie exchange. It’s definitely a keeper recipe.


 I Want to Marry You Cookies

1 cup butter

1 1/4 cups dark brown sugar

1/2 cup granulated sugar

1 egg

1 egg yolk

1 teaspoon pure vanilla extract

2 cups flour

1 cup uncooked rolled oats

1/2 teaspoon baking soda

1/2 teaspoon Salt

1/4 teaspoon ground cinnamon

1 cup white chocolate chips

1 cup chocolate chips

Preheat the oven to 325 F.

In a medium saucepan, melt the butter completely over medium heat. Remove from the heat.

Add the brown sugar and granulated sugar and stir until sugars are incorporated and smooth. Chill the mixture in the refrigerator for 10 minutes.

Remove from the refrigerator and stir in the egg, egg yolk, and vanilla.

Add the flour, oats, baking soda, 1/2 teaspoon salt, and cinnamon and mix together.

Stir in both kinds of chips. 

Roll by hand into 24 medium-size balls or use a scoop, and chill for 30 minutes. You can place your dough balls on a cookie sheet to do this, or you can do what I did,  which was to layer them in a bowl with wax paper between each layer. 

Remove the cookies from the refrigerator and bake for 12 to 14 minutes.

Getting Organized For the New Year: The Food Pantry

Happy New Year!

I’m sharing something with you all that may forever change your opinion of me. You may judge me harshly, or drop your phone in horror.

Don’t say you weren’t warned.

I’m going to show you what my food pantry looked like prior to December 30.

  I know, I know. Let me explain…although I have no excuse to offer really.

Three years ago, we did a pretty major renovation of our kitchen and added in some new cabinets and this pantry for food. For awhile, it was neat and organized. Then I got pregnant.  And had said baby. And any chance of being organized again seemed a pipe dream.

I knew it was bad but I didn’t realize how bad until I took that picture and began to tackle the problem. I’ve been following FlyLady on social media and I really like her philosophy of doing chores in short increments. So, I set the timer on my phone to 15 minutes, rolled up my sleeves and tackled the pantry.

Maybe it was knowing that I only had 15 minutes to work. Maybe it was the determination. Maybe it was the sheer horrid conditions of it all. But I got the lower two shelves cleared out and reshaped with 29 seconds to go. And all of this was thrown away:

  Honestly, some of it was probably ok. Do steel cut oats really ever go bad? But I decided to toss anything that was expired whether it was truly inedible or not. True to the FlyLady philosophy, I walked away from that project and folded up some towels. But I was on such a mission and was so pleased with my progress…that I went back and set the timer again for another 15 minutes and tackled the top shelf.

This one took longer because it was mostly cans that I had to rearrange. I sorted out vegetables/beans from soup/prepared food. Sadly, I had about a dozen outdated cans that had to be pitched. I felt wasteful and disappointed in myself.

I was proud though of the finished effort.

  Back when I first added the pantry, I bought some small trays to keep spices in. Whether it was a Pinterest idea or a tip from a friend, I can’t remember but I got the idea to do one small tray strictly for spaghetti seasonings since that it’s the most frequent and consistent dish that I make that uses a variety of spices. I’d gotten so off track though that I’d let my little tray get filled with a hodgepodge of stuff. No more! The spaghetti tray is back.

  It may sound silly but this organized pantry has been a game changer this past week. I can actually find things. I made spaghetti and didn’t have to stand on my head to find the seasonings. (I also realized I need onion powder-so that’s on the grocery list). I prepped overnight oats since the oats, cinnamon and walnuts were so easy to reach. I feel like I can make a meaningful grocery list since it’s easy to check my inventory now.

I share this not to just expose my slob ways but also to encourage. If you have a problem spot in your house, don’t just shut the door on it. Set your timer and charge ahead. You might be shocked at what fifteen minutes can do!